This article outlines how to Spin Up a Bridging Aggregator Dev Environment, which includes the necessary tools, configurations, and installation processes.
You will learn to build a secure development environment that optimizes your setup for cheaper, faster, and more reliable bridging. It will also ensure that you test cross-chain transactions safely and develop the bridging application efficiently before deploying on the mainnet.
What is a Bridging Aggregator?
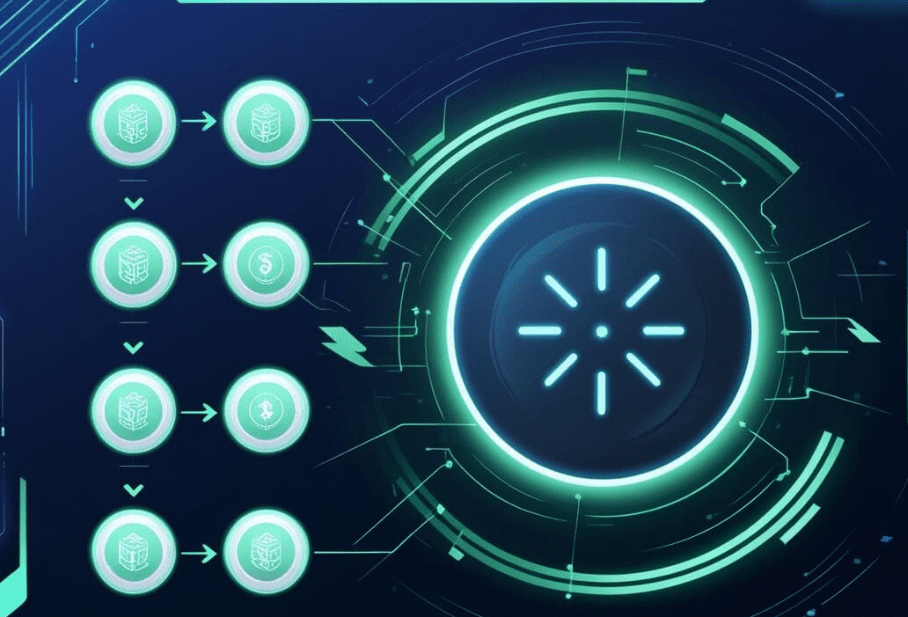
A Bridging Aggregator is a single platform designed to connect multiple blockchain networks, enabling users to move their digital assets across chains without any hassles. Instead of a singular bridge, it aggregates numerous cross-chain bridges to offer the fastest, cheapest, and most secure route to any cross-chain token transfer.

Aggregator bridges are designed to lower transaction fees, waiting periods, and drop volatility of offerings and offer reliability by choosing the most optimal bridge based on liquidity, gas, and speed.
Bridging aggregators are crucial for users in the Decentralized Finance (DeFi) space, as well as traders and developers, who require seamless cross-chain interoperability between multiple chains, such as Ethereum, Binance Smart Chain, and Solana.
How to Spin Up a Bridging Aggregator Dev Environment
Example: Step-by-Step Setup
Step 1. Install Required Tools
- Install Node.js in addition to npm for script execution.
- Set up docker for managing local blockchain nodes.
- For development, use Visual Studio Code or any other IDE.
Step 2. Clone Aggregator Repository
- Search GitHub for a bridging aggregator repository.
- Clone the repository: git clone <repo-url>.
Step 3. Install Dependencies
- Go to the project folder and run npm install.
Step 4. Configure Blockchain Testnets
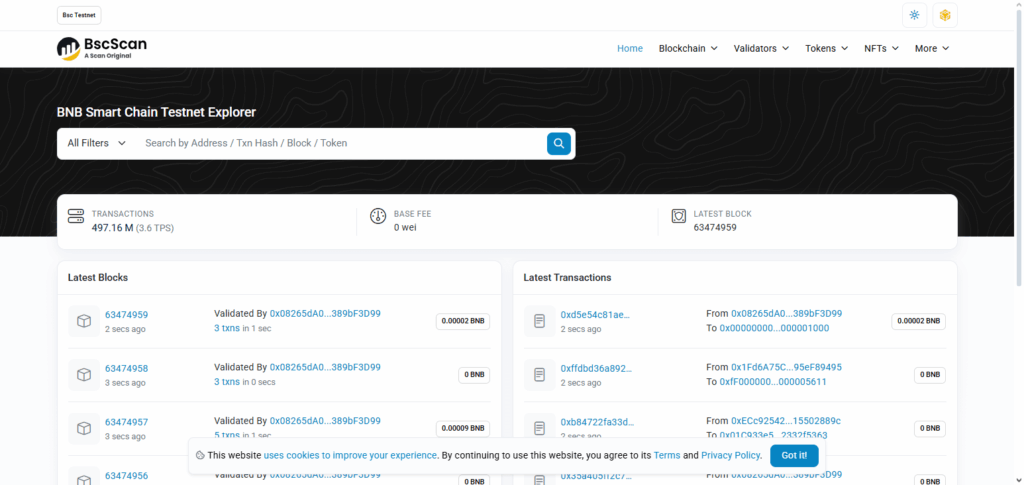
- Use blockchain testnets such as Goerli, Mumbai, or BSC Testnet.
- In .env file add RPC endpoints and wallet private keys.
Step 5. Connect Multiple Bridges
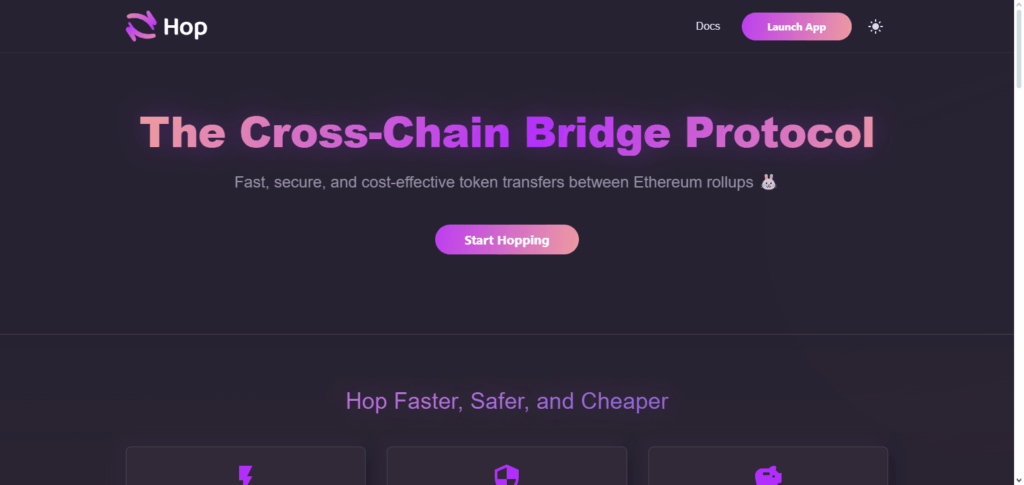
- In the aggregator configuration, add bridges such as Hop, Connext, or Synapse.
- Set API keys or endpoints for each of the bridges.
Step 6. Start the Dev Environment
- Execute npm start or use yarn dev to start the local environment.
- Check connections to testnets.
Step 7: Test Cross Chain Transactions
- Execute token swaps and transfers between the simulated chains.
- Review logs for any errors and confirm the transactions are successful.
Step 8: Optimize & Debug
- Refine gas fees, retry logic, and gas costs.
- Explore testing advanced cases for robustness and security.
Why Choose Bridging Aggregator Dev Environment
Lower Transaction Costs – Gas fees are saved since aggregators identify the cheapest bridge for transfers.
Faster Transfers – Bridging aggregators enable less delay in cross-chain transactions by taking the fastest path.
Enhanced Security – Risk of loss is mitigated since developers can test in a controlled environment before deploying on mainnets.
Cross-chain Compatibility – Developers can create applications that work across different blockchain networks.
Simplified Testing – The ability to simulate transactions without real funds is a valuable feature of the environment.
Optimized Liquidity Use – Minimizing slippage and ensuring asset liquidity is a balancing act performed by aggregators.
Scalability – Developers can test the performance of aggregators under load by using high-volume transfers.
Debugging and Monitoring – Issues can be addressed promptly using the log and analytic tools provided in the dev environment.
Testing the Environment
Once your bridging aggregator development environment is set up, testing makes sure it functions correctly across various blockchains and scenarios. Begin by testing cross-chain transfer processes using testnet tokens to reduce fees associated with the cross-chain transfer system.
Verify that the aggregator selects the optimal speed, the cheapest cost, and a sufficient liquidity bridge. Monitor the logs and transaction status to ensure proper execution and identify any errors.
Deliver sufficient system cross-chain transfers to test edge cases, including low liquidity, network problems, and invalid addresses, as a robustness test for the system.
Ensure the smooth interaction of smart contracts with all system endpoints and check if all API endpoints respond as needed. Anim testing and development processes in this environment minimize the mistakes made on the mainnet and ease the development processes.
Best Practices
Maintain Environment Privacy – Pay special attention to private keys and configurations by using .env files, and by employing secure storage.
Ensure Versioning – Manage updates of repositories so that rollbacks and checkouts are easier.
Dependency Isolation – Avoid conflicts by employing virtual environments or Docker.
Schedule Updates – Ensure that libraries, frameworks, and node versions are up to date.
Establish Security Log Monitoring – Set up correct monitoring for easier debugging.
Conduct Multi-Chain Testing – Ensure that all supported blockchains are functional.
Record Setups – Establish clear documentation for all scripts to support team operations.
Access Controls Set – Avoid system logs and access control to sensitive or private databases.
Additional Tips
Docker for Consistency – Wrap your environment in a container to make sure it behaves the same everywhere.
CI/CD Pipelines – Automate the tests and deploy to make the development cycle smoother.
Testnets – Always test your project first on the Ethereum, BSC, or Solana testnets before going to the mainnets.
Real-World Simulation – Use different amounts of tokens, varying congestion, and different routes on the bridge for testing.
Performance – Track API calls, execution speed, and resources to balance and eliminate bottlenecks.
Version Control – Use Git or GitHub for easy and quick updates and code distribution.
Self-Education – As you encounter new bridges, updates in the blockchain, or best practices, ensure you learn and follow them.
Pros & Cons
| Pros | Cons |
|---|---|
| Lower Transaction Costs – Automatically selects the cheapest bridge for transfers. | Initial Setup Complexity – Requires installing dependencies and configuring multiple chains. |
| Faster Transfers – Optimizes routing for quicker cross-chain transactions. | Resource Intensive – Running multiple testnets or local nodes can use significant CPU/RAM. |
| Enhanced Security – Safe testing environment reduces risk on mainnets. | Steep Learning Curve – Requires knowledge of blockchain, smart contracts, and bridges. |
| Cross-Chain Compatibility – Supports multiple blockchain networks for testing. | Maintenance Required – Needs regular updates and monitoring for dependencies and nodes. |
| Debugging & Monitoring – Logs and analytics help identify issues early. | Limited by Testnets – Some features may behave differently on mainnet. |
Conclusion
Building a bridging aggregator development environment is a key step in testing and constructing dependable cross-chain solutions.
Developers can use the necessary tools, configure testnets, and adhere to best practices to simulate transactions in a risk-free environment, optimize performance, and resolve issues before launching on the mainnets.
A thoughtfully constructed dev environment drastically decreases expenditure, improves transfer speeds, and offers safe testing across several blockchains.
Although the bridging aggregator system goes through several cycles of development, precise setup, extensive testing, and concept engineering eliminate undue complexity by significantly improving system reliability and efficiency.
FAQ
Common tools include Node.js, npm, Python, Docker, local blockchain nodes (e.g., Ganache, Hardhat), and testnet wallets.
Use testnet tokens on multiple blockchains, monitor logs, and simulate different bridge routes to check performance and accuracy.
Yes, if all transactions work correctly in the dev environment and smart contracts are audited, it is safe to deploy.