
In this article, I will provide a How to Bridge Arbitrum to Optimism , specifying the transfer of tokens between these Layer 2 networks.
I will cover the prerequisites, step-by-step instructions on how to perform a cross-chain transfer, and some of the trusted bridging platforms.
I will cover the bridging process in-depth to accommodate for both beginners and advanced users.
What is Bridging in Crypto?
Bridging in crypto is defined as the movement of assets from one blockchain network to another for the purpose of interaction. For instance, a crypto user who employs the Arbitrum network in the Ethereum blockchain can also transact on the Optimism network, another Layer 2 network on Ethereum.
This is important because each network has its own distinct benefits, including unique capabilities, lower costs, or specific applications. Bridges operate on the principle of secured token movement on one chain and minted tokens of the same value on another. There is no change in the net supply of the tokens, hence, the net is the same.
Users of crypto, in an attempt to grow in decentralized finance (DeFi), also need to evaluate the following: the costs, busy networks, and possible weak security of the bridge platform.
How to Bridge Arbitrum to Optimism
Example: Bridging ETH from Arbitrum to Optimism
Step 1: Connect Your Wallet
- Open your MetaMask wallet and ensure it is connected to Arbitrum Network.
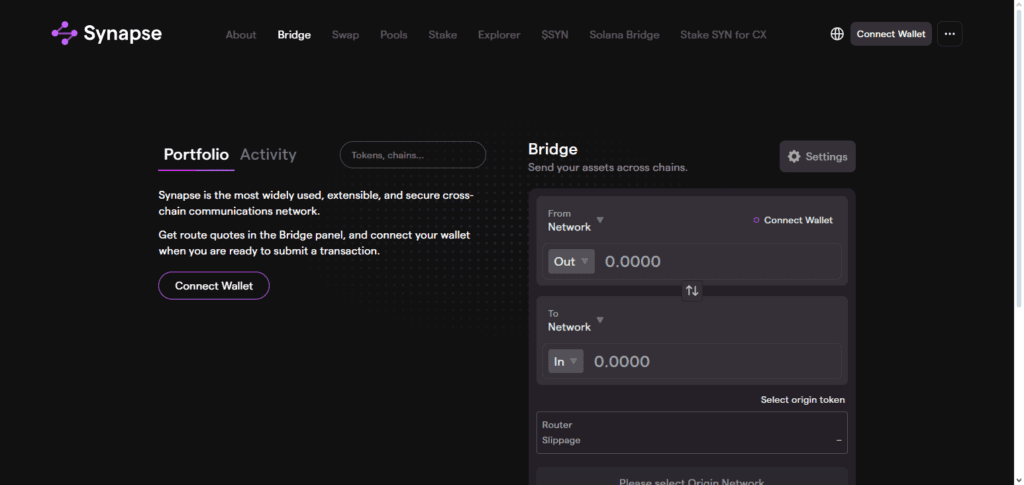
Step 2: Connect With a Secure Bridge
- Navigate to a secure bridge solution, for example Hop Protocol or Synapse.
Step 3: Choose Token and Bridges
- Select ‘From: Arbitrum’ and ‘To: Optimism’.
- Choose ETH for transfer.
Step 4: Enter Amount to Be Transferred
- Enter the ETH amount you wish to bridge, along with an approximated fee.
Step 5: Approve Transaction
- Validate the token approval with your wallet.
Step 6: Send the Transfer
- Hit the “Bridge” or “Transfer” button, and confirm the MetaMask transaction.
Step 7: Track Transaction Status
- Post bridge confirmation on both networks, you should be able to check the bridge via the transaction hash.
Step 8: Confirm Transaction on Optimism
- Switch to Optimism Network on your wallet and check for the ETH.
Popular Platforms for Bridging
Hop Protocol
Hop Protocol is one of the very best solutions for transferring tokens between Arbitrum and Optimism.
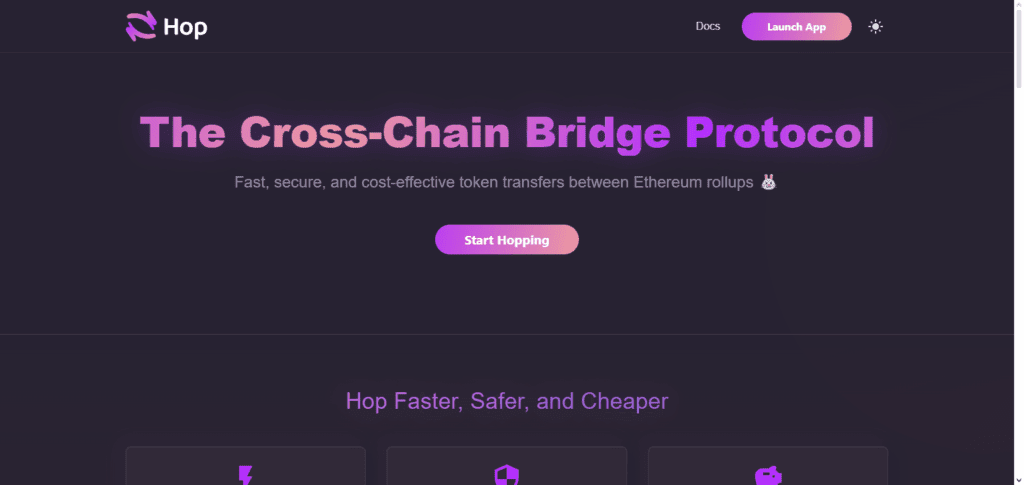
Unlike the classic bridging method which takes users hours to process the outbound and the inbound leg of the transfer, the Hop Protocol involves the user joining an efficient liquidity network so that they can transfer coins and tokens, including ETH and stablecoins, in seconds. Supported by Arbitrum, Optimism, and various other chains, the Protocol is also very cheap to use.
Security is also very conscientiously handled. The smart contracts are thoroughly audited, so the users may transfer their assets without having to worry about them. If you wish to transfer Arbitrum to Optimism, then Hop Protocol is one of the most reliable and simplest solutions that you can find.
Celer
Celer Network’s fast and economical asset transfer capabilities greatly enhance user experience when bridging between Arbitrum and Optimism. Its layer-2 scaling and off-chain liquidity architecture allows Celer to achieve real-time token transfers at low gas fees. It embraces a user-centric approach by accepting a wide variety of tokens.
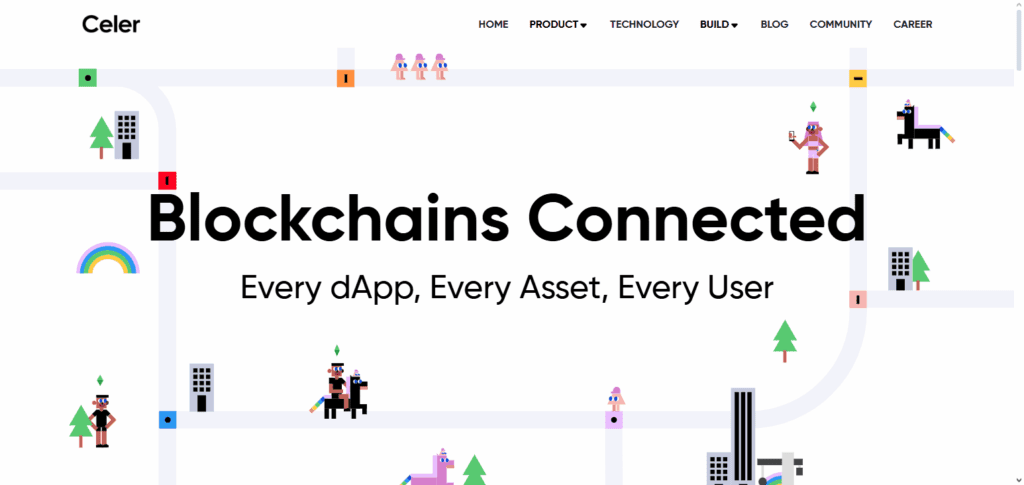
The protection of user funds through multi-chain transfers via thoroughly audited and tested smart contracts is an equally paramount focus of Celer Network user funds. The convenience and comfort of bridging Optimism and Arbitrum has made Celer Network the go-to choice for many individuals.
Choosing the Right Bridge for Your Transfer from Optimism to Arbitrum
Bridges still retain certain risks when moving tokens between Optimism and Arbitrum. This makes the selection of a bridge very important. Even popular and well-known bridges have risks worth evaluating. Key considerations comprise:
Security: Review the bridge’s historical defensive posture, internal examinations, and even written references. Reliable bridges will often appear on an official network’s vetted list, a good place to start.
Flexibility: Make certain the bridge provides Optimism and Arbitrum, plus a range of tokens. The more a bridge can accommodate, the better.
Cost & Access: Evaluate the access routes and cost management on a balance perspective against other bridges. The most economical and time efficient is the better choice.
Proof of Access: The bridge should be fast, reliable, and easy to use so that you can simply load the tokens and go.
Prerequisites Before Bridging
Supported Wallet
- Make sure the wallet you use can support Arbitrum and Optimism, such as the MetaMask and Coinbase Wallet.
Gas Fee Tokens
- Make sure to have enough ETH, or native tokens to accommodate the transaction fees on both chains .
Bridged Tokens
- Make sure the tokens you wish to bridge are supported on the bridge platform.
Correct Network
- Make sure your wallet is on the proper network (Arbitrum or Optimism) before beginning the transfer.
Reputable Bridge
- Use a bridge that is secure and well-audited, along with having great user feedback.
Transfer Rules
- Understand the bridge’s minimum and maximum limits to ensure seamless transactions.
Web Wallet Protection
- Make sure to secure the seed phrase of your wallet and to protect your wallet with two-factor authentication for additional safety.
Tips for Safe and Efficient Bridging
Use a reputable bridge: Use only vetted bridges that have positive feedback from the community.
Check the wallet network: Make sure the wallet is connected to the right network (both Arbitrum and Optimism) before beginning.
Keep enough gas tokens: Ensure you have enough ETH or equivalent tokens to pay for all gas fees.
Make a test transfer: Send a small amount at first to ensure that all of the right processes are working.
Track the transaction status: Keep in mind the confirmations, and be calm. There may be congestion on the network.
Protect wallet details: Make sure your seed words, passwords and even two-factor authentication, are as safe as possible.
Don’t use unverified bridges: Don’t use random or test bridges to minimize the chances of a scam or losing your money.
Troubleshooting Common Issues
Transaction Delays
Slowed transactions may be due to network congestion on either Arbitrum or Optimism.
Incorrect Wallet or Network
Check that the wallet is active on the right network and that the destination address is accurate.
Tokens Not Appearing
Ensure the bridge transfer is successful, and try refreshing or reconnecting the wallet.
Transaction Failures
Review and try to increase the network gas fee if congestion is an issue.
Contact Support
Retrieve the tx hash and chat to customer support for the bridging platform.
Avoiding Future Issues
Make minor transfers before large ones to reduce exposure to risk.
Conclusion
Transferring assets from Arbitrum to Optimism unlocks new possibilities between Layer 2 networks, enables users to engage with new DeFi applications, and reduces transaction costs. For secure transfer, take necessary precautions like selecting a reputable bridge, wallet verification, gas fees, and transaction monitoring.
Always conduct small trial transfers, consider the network status, and protect your wallet information. When well organized and meticulous, bridging Arbitrum and Optimism is both secure and effective and a great way to engage with the ever growing Ethereum ecosystem.
FAQ
Bridging allows you to transfer tokens from Arbitrum to Optimism, enabling use across different Layer 2 networks while keeping the total token supply unchanged.
Popular wallets like MetaMask and Coinbase Wallet support bridging between Arbitrum and Optimism. Ensure your wallet is connected to the correct network before starting.
Transfer times depend on network congestion, but most bridges complete transactions within a few minutes to an hour.
Yes, you need to pay gas fees on both the source and destination networks. Fees vary by network load and bridge platform.